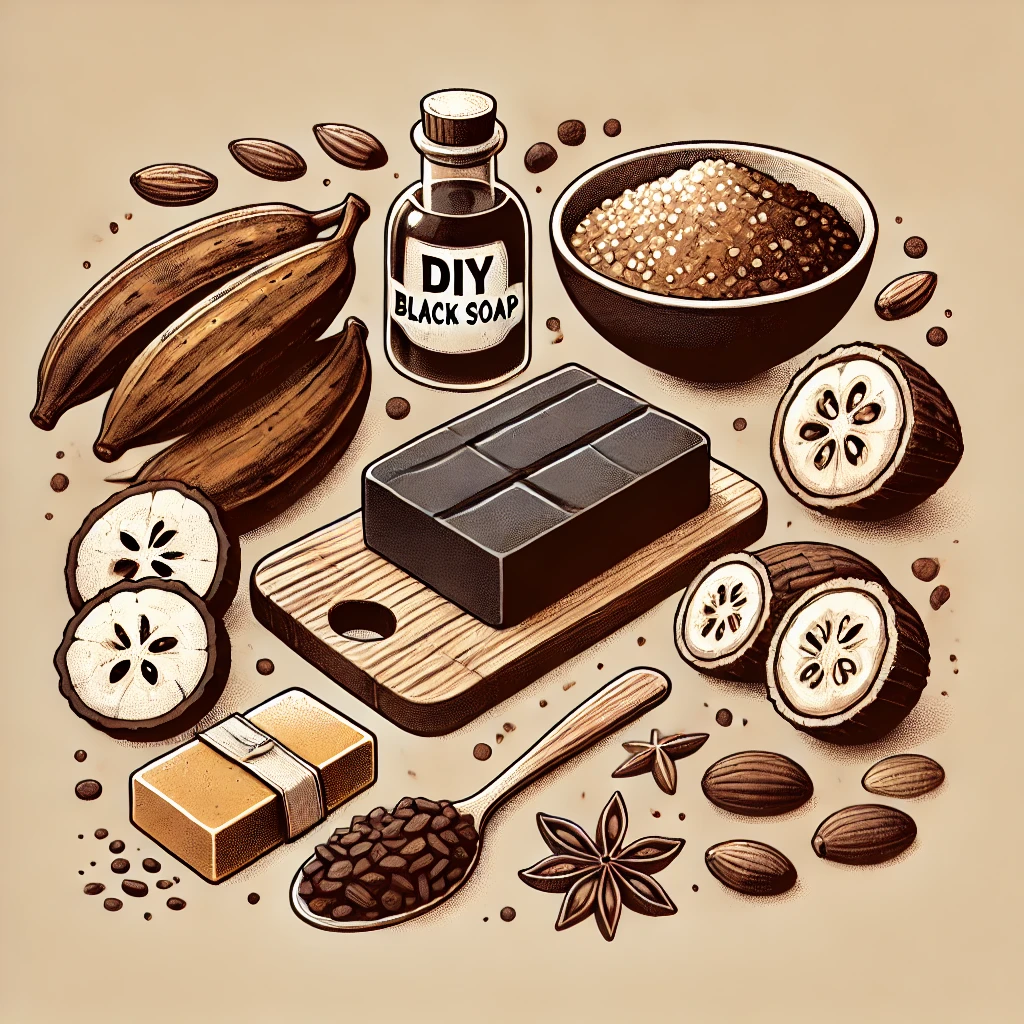
African Black soap, known for its incredible skin benefits, has been a staple in West African skincare for centuries. Made from natural ingredients like plantain skins, cocoa pods, and shea butter, Black soap is celebrated for its ability to cleanse, exfoliate, and nourish the skin. If you’re interested in making your own Black soap at home, here’s a step-by-step guide to help you create this amazing natural soap.
1. Gather Your Ingredients
To make authentic African Black soap, you’ll need the following ingredients:
- Plantain Skins: Rich in vitamins A and E, plantain skins are a key ingredient. They’re usually dried and roasted to create the ash that gives Black soap its unique color and properties.
- Cocoa Pods: Cocoa pods provide natural exfoliation and are also dried and roasted to form part of the ash base.
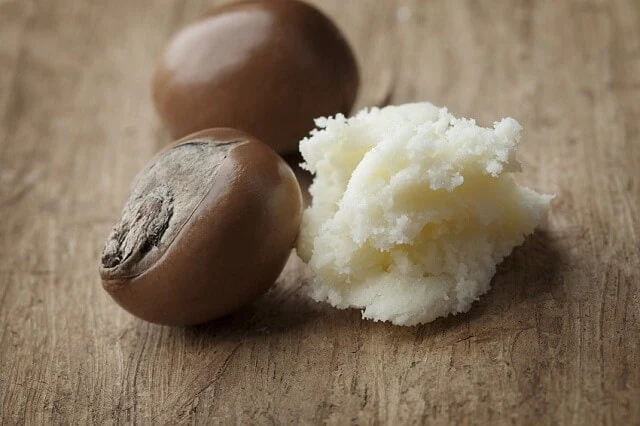
- Shea Butter: Shea butter adds moisturizing and healing properties to the soap.
- Coconut Oil or Palm Oil: These oils help bind the ingredients and add their own moisturizing benefits.
- Water: Used to mix the ingredients and form the soap.
Optional:
- Essential Oils: For added fragrance and additional skin benefits (e.g., tea tree oil for acne-prone skin, lavender oil for calming effects).
2. Prepare the Ingredients
- Dry and Roast the Plantain Skins and Cocoa Pods: Begin by drying the plantain skins and cocoa pods in the sun. Once fully dried, roast them in a clay oven or over a low fire until they turn into a fine ash. This ash will act as the cleansing base of the soap.
- Melt the Shea Butter and Oils: In a separate pot, gently melt the shea butter and coconut or palm oil over low heat. Make sure not to overheat, as this can degrade the beneficial properties of the shea butter.
3. Mix the Ingredients
- Combine the Ash and Water: Slowly add water to the roasted ash, stirring continuously to create a smooth mixture. This step requires patience as you need to ensure the ash is fully dissolved without any clumps.
- Add the Melted Oils: Gradually pour the melted shea butter and oils into the ash mixture, stirring constantly. The mixture will begin to thicken as the oils combine with the ash. Continue stirring until you achieve a consistent texture.
4. Cook the Soap Mixture
- Simmer the Mixture: Place the pot over low heat and simmer the mixture for a couple of hours. Stir occasionally to prevent sticking and ensure even cooking. The mixture will gradually turn into a thick paste.
- Monitor the Soap’s Color and Texture: The soap will darken as it cooks, transitioning from a light brown to a deep, rich black. Once it reaches the desired color and consistency, it’s ready to be removed from the heat.
5. Pour and Cure
- Pour into Molds: Carefully pour the hot soap mixture into soap molds. You can use silicone molds for easy removal or a simple tray mold, which can be cut into bars after curing.
- Allow to Cure: Let the soap cure in the molds for at least two weeks. This curing process allows the soap to harden and develop its full properties.
6. Customize Your Black Soap
- Add Essential Oils: If desired, add a few drops of your favorite essential oils to the soap mixture before it fully cools in the molds. This can enhance the fragrance and provide additional skincare benefits.
- Experiment with Add-Ins: You can also experiment by adding ingredients like aloe vera, honey, or oatmeal for extra moisturizing or exfoliating properties.
Conclusion
Making your own Black soap at home is a rewarding process that allows you to customize the ingredients to suit your skincare needs. With its deep cleansing, exfoliating, and moisturizing properties, homemade Black soap is a natural and effective addition to your skincare routine. Plus, creating it from scratch gives you a deeper appreciation for this traditional African craft.